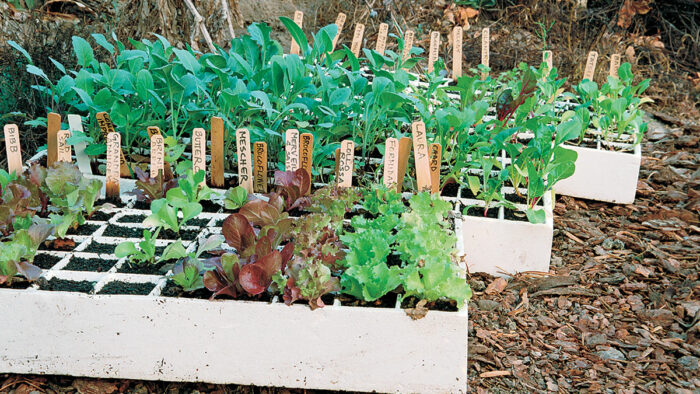
My mother started her vegetable and flower seeds in soil nursery beds, well amended with manure and compost, so I never knew there were other methods until I subscribed to gardening magazines and mail-order catalogs. The wealth of available tools and techniques fascinated me. But in a household in which the most minor item was reused many times—before it was known as recycling—actually purchasing a new item was all but inconceivable; you simply made do with what you had.
I began my own seed starting endeavors by scavenging assorted containers that promised a healthy start to my tiny sproutlings. Milk cartons, cottage cheese and yogurt containers, whipped margarine tubs, orange and grapefruit rinds, egg cartons, wax-lined cereal boxes, ad infinitum. Quite a collection of odd sizes and shapes, but with a thorough cleaning and a couple of holes punched in the bottom for drainage, they did the job quite nicely.
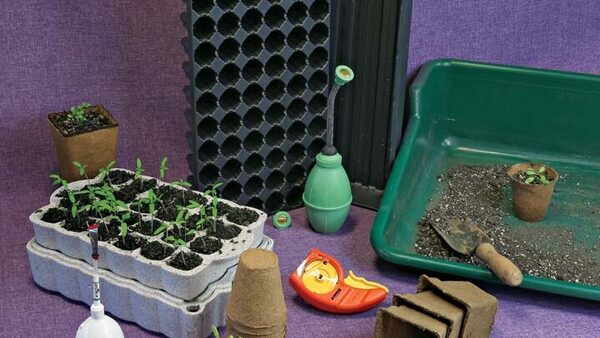
When I went to work in the Vegetable Crops Department of the University of California at Davis, I had an opportunity to try numerous styles of seedling trays. Trays made more sense than my ragtag collection of misfit containers, so I made an investment in several types used by the U.C. Davis veggie crew. One was the Speedling tray, which I bought from Peaceful Valley Farm Supply. Ah, that fateful introduction to the wonders of Speedlings!
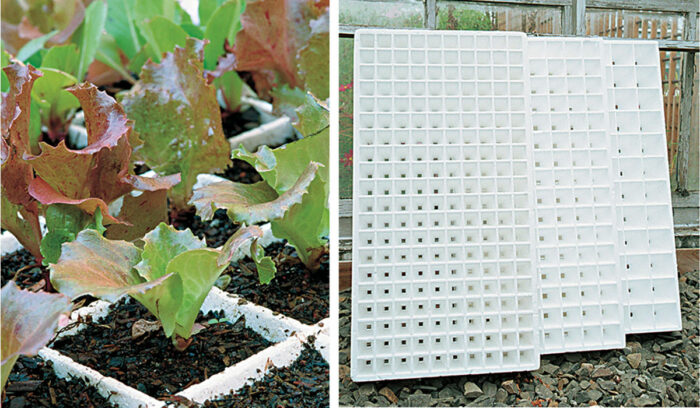
These trays were developed by Speedling, Inc., for large-scale agriculture. The company’s patent has since run out, but I’ve never located a source for trays other than those made by Speedling, Inc.
Speedling trays are roughly 13-1 ⁄ 2 inches wide by 26-1 ⁄ 2 inches long by 3 inches deep, and they typically come in four cell sizes: 1-inch (200 cells per tray), 1-1 ⁄ 2-inch (128 cells per tray), 2-inch (72 cells per tray), and 3-inch (32 cells per tray). Although they’re rather bulky compared with the typical plastic nursery flat, they’re made of molded polystyrene and are quite lightweight, which is helpful when lugging the trays around the garden.
The tray with the 3-inch cells seemed too exorbitant a purchase, so I bought the smaller sizes and planned to start most of my seeds in the 1-inch cells and to transplant at the earliest possible time. I frequently wasn’t able to get to the plants early, and by the time I did manage to do the transplanting, the plantlets were more mature than I anted them to be. Ironically, this proved to me the biggest benefit of Speedlings.
Root pruning is automatic
Because the cells are pyramidal in shape, tapering to a 1 ⁄ 4-inch hole at the bottom, the seedling roots are guided downward. When the taproot encounters the air outside the bottom hole, it is automatically root-pruned, prompting the development of feeder roots that grow downward. The seedlings are well rooted and ready for transplant anytime after the first couple of weeks. In my experience, this contrasts with square-bottom containers, which force the roots to circle around themselves, requiring untangling and resulting in damage and setback to the transplants.
In Davis, I became interested in stretching the growing season. I soon discovered the insulating value of my polystyrene Speedling trays. With the addition of row cover as a canopy, held up by the plant label stakes, the seeds were enveloped in an environment-modifying cocoon that helped them germinate and grow in cooler weather.
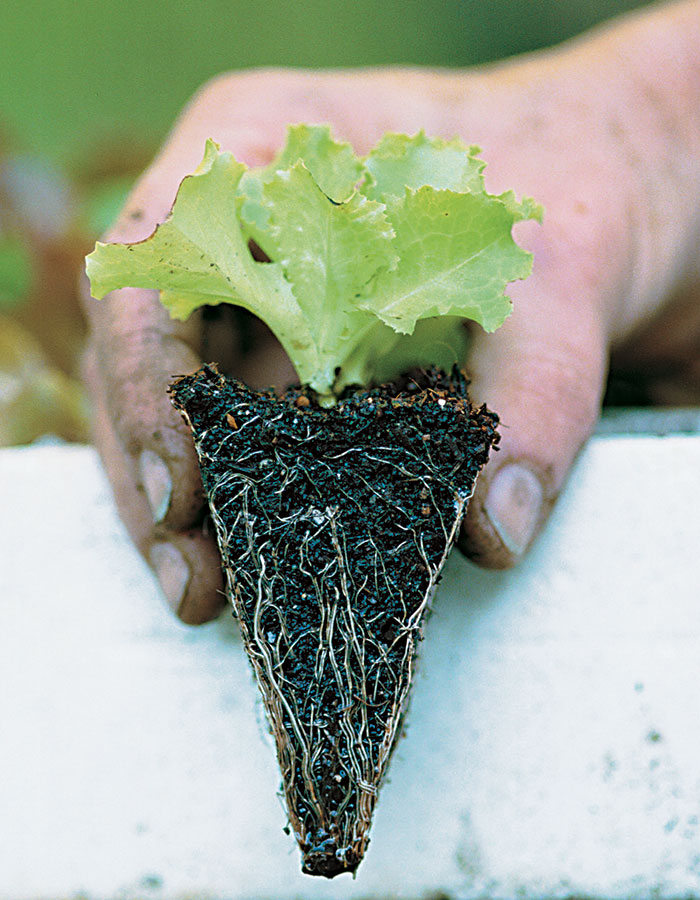
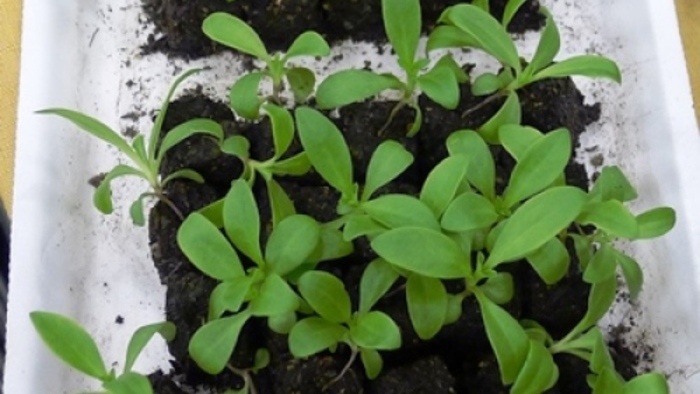
When the plants in a Speedling tray are large enough to transplant, you can pry them out of the cells with a paring knife or even a sturdy plant label without disturbing their roots. Watering the day before assures a turgid plant, but allows excess moisture to drain, so the rootball easily pops out.
Here’s where the real benefit of the pyramidal-shaped rootball comes into play. When transplanting a seedling, you want to direct the roots downward so they develop into a sturdy root system. If the roots never penetrate beyond the top few inches of the soil, they’ll be subject to drying out. With transplants grown in a Speedling tray, the roots are already pointed downward, ready to dive down into the soil. You don’t have to tease apart a square-shaped rootball and then wait for the roots to figure out which way is down before they finally settle in and start growing again.
Then there’s the longevity of the trays themselves. Although the trays from my first purchase have become dirty and dinged (and are apparently tasty to slugs, which have nibbled the edges), I’m still using them—some 20 years later. I now bring both new and old Speedlings to my Master Gardener classes on tools and recycling to illustrate the value of frugal but wise purchases. My trays definitely pay for themselves year after year.
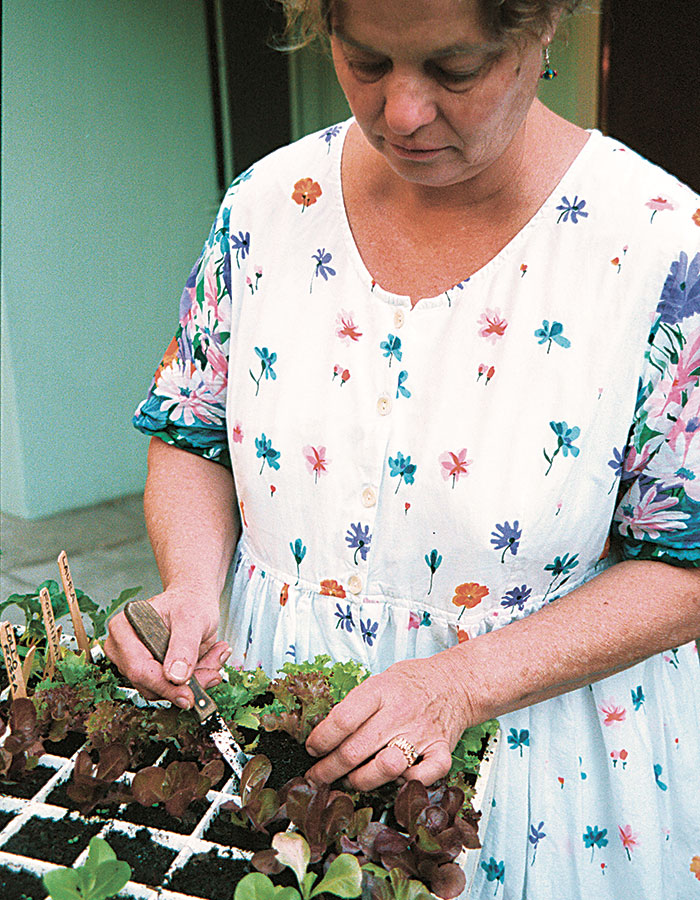
Several years ago, I decided to accept the reality of my penchant for late transplanting. I had been using only the trays with 1-inch-square cells, so I could start as many seedlings as possible in each tray. This was driving me crazy because I was always late in transplanting. I was eternally battling with overgrown seedlings planted too thickly in each cell, a problem not even a Speedling tray can overcome. I now allow myself the luxury of using trays with 2-inch-square cells for just about every kind of seed, and saving the 1-inch-square cells for leeks. And I sow three seeds in each cell: one to come up and thrive, one to come up but fall victim to disease or critter, and one never to germinate in the first place. The lone survivor has a sturdy stem and full foliage, its roots occupy the full cell, and transplanting is a snap.
Sources for Speedling TraysHarmony Farm Supply Peaceful Valley Farm Supply Speedling, Inc. |
—Yvonne Savio directs the Common Ground Garden Program for U. C. Cooperative Extension Service in Los Angeles County.
Photos: Marc Vassallo.
February 2000
from Kitchen Gardening #25
More great seed-starting information:• Soil-Block Your Seeds For more links to articles, blog posts, and videos on starting vegetable and flower seeds, see All About Starting Seeds. |









Comments
Log in or create an account to post a comment.
Sign up Log in