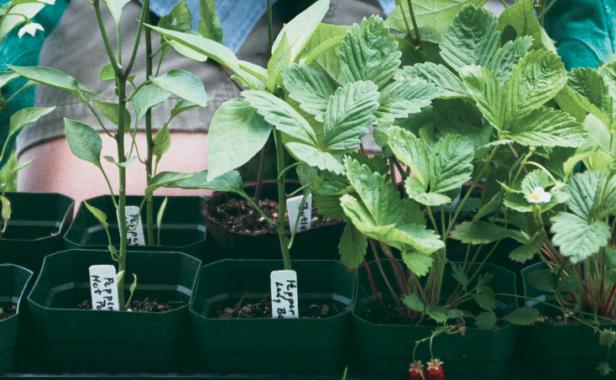
I hate to admit it, but last spring my basil fell victim to neglect. Overzealous garden planning in January, followed by a frenzy of seed-starting, left me in a June panic. So many seedlings to get in the ground, so little time to do it. The basil seedlings, some of the last plants to leave the warmth and protection of my light stand indoors, were hastily set outside the kitchen door while I turned my attention to getting tomato, pepper, and eggplant seedlings in the ground. For a couple of days, the basil plants looked just fine. By the time I had the chance to give them a second thought, the damage was done. Their tender leaves were literally scorched from the harsh noonday sun, and the plants had turned brownish and sickly. I had done nothing to ease their passage into the real world.
Amazingly, those basil seedlings recovered, but by not hardening them off properly, I set them back considerably. Luckily, I didn’t treat all my young plants so poorly. By and large, I’ve learned that some planning and attention up front, as well as a watchful eye once they’re in the ground, will help seedlings grow into healthy, productive plants. And when ambitious intentions do get away from me, it’s comforting to know that all plants strive to grow, bear fruit, and set seed, despite an occasional lapse on the part of the gardener.
Give seedlings a good start
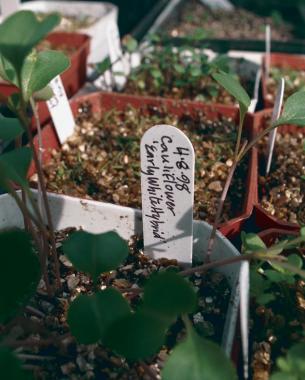
Sowing a packet of seeds in the dead of winter is uplifting—the smell of damp soil fills the air, and spring doesn’t seem so far off. But in reality, spring may be months away and until it’s reliably warm in the garden, many plants started from seed need to be cared for indoors. Here you’ll need to provide them with an environment where they can flourish.
I raise seedlings on a three-tiered stand with fluorescent bulbs hung by chains so the lights can be raised as the seedlings grow. Keeping the lights an inch or two above the plants makes them strong and stocky. Without a good light source, phototropism will cause seedlings to reach for light and become weak and spindly.
Once seedlings have one or two sets of true leaves, it’s time to start fertilizing. Many gardeners use a weak solution of water-soluble fertilizer like Miracle-Gro; fish-emulsion or seaweed products are good organic alternatives. Either way, regular feedings will encourage strong growth. I like to use a liquid fertilizer with more phosphorus (the middle number of the N-P-K formula) than nitrogen or potassium. The additional phosphorous promotes strong root development. My pots sit in plastic trays so I can water and fertilize from below.
Pot on, pinch back, and toughen them up
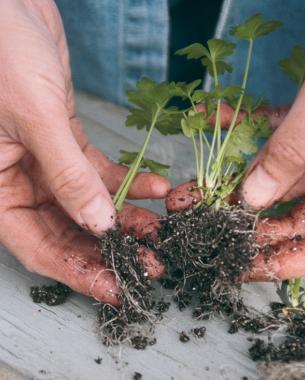
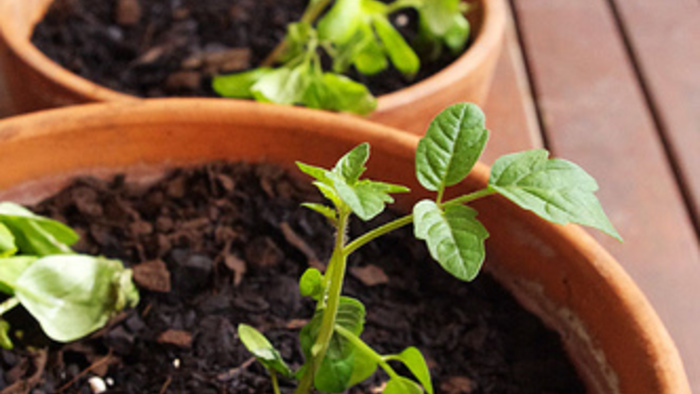
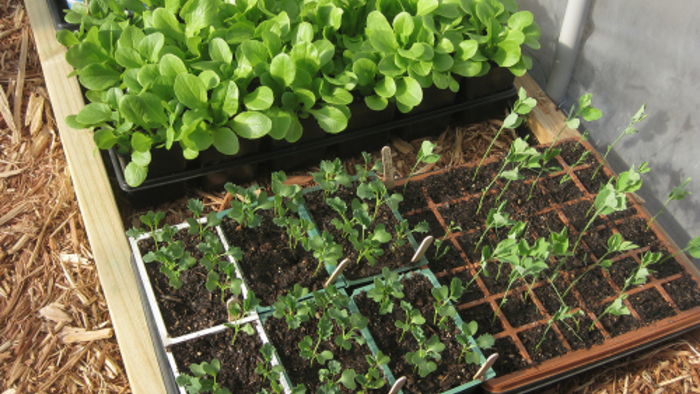
Whether you start your own seeds, or buy seedlings at a local garden center or by mail, chances are they’ll need to be potted on before you can get them in the ground. This is especially true of those crops that can’t be planted until the soil has warmed up, like tomatoes and peppers. Cramped, crowded roots will send seedlings into quick decline. So move them up to larger pots where root growth can continue to progress with leaf development. Three- or 4-inch pots are a good size for little plants that have outgrown six-packs. If you’re separating seedlings started in a flat, gently tease apart roots with your fingers or a pencil. Be sure to label the transplants.
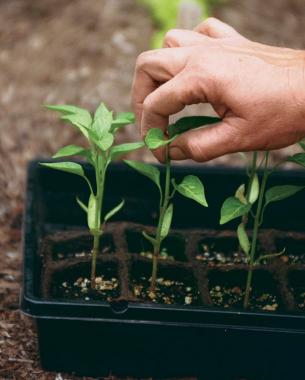
Given good conditions, seedlings grow quickly. The plant hormone auxin is present in a seedling’s terminal bud and assists in growth by making cell walls more elastic. Auxin, however, suppresses growth at a seedling’s lower lateral buds. If you pinch out the terminal bud, and thus the auxin, side shoots will grow. This results in bushy, many-branched plants and eventually more flowers and fruit. Once seedlings are 3 or 4 inches tall with a good supply of true leaves, I pinch them back. You can use scissors or pruning shears, but thumb and forefinger work just fine.
While your seedlings are growing indoors, toughen them up by man-handling them a bit. Regularly run your hand over the tops of the little plants. This brushing or stroking will help ready the seedlings for the harsh outdoors.
The timely art of hardening off
Hardening off is the process of getting seedlings acclimated to conditions in the garden. Cool temperatures, wind, rain, and bright sunlight can be harsh for young plants raised indoors. So ideally, it’s best to expose seedlings to these conditions slowly. Most gardeners take a week or two to harden off plants, first moving them outdoors to a shady location during the day and bringing them in at night. Gradually, they expose the seedlings to direct sunlight for longer periods.
Moving trays of seedlings in and out and in and out morning and evening can be a tedious process. I’ve found a cold frame to be invaluable in providing a sheltered environment for seedlings getting used to the outdoors. I may bring seedlings back in at night for a couple of days, but then they stay in the shelter of the cold frame where I lower the lid to protect them from cool night temperatures. In the daytime, the lid is opened but the cold frame still provides protection from harsh winds.
Finding your own transitional spaces is key to hardening off. Locations that provide some protection from the elements like a shady porch, a sheltered spot by the side of the house, or under some shrubs are good possibilities. Keep an eye on the weather while you’re hardening off seedlings and protect them from extremes like torrential rain or an unseasonable dip in nighttime temperatures.
Plant on an overcast day
A gloomy, cloudy day is the best time to plant seedlings in the garden. If it’s lightly drizzling, all the better. But if the forecast is for fair weather, avoid planting seedlings in the hot, mid-day sun. Get an early start in the morning, or wait and set a few plants in the ground at the end of the day.
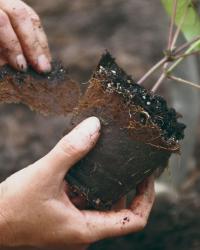
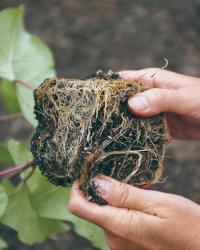
Slip the seedling out of its pot and gently loosen the roots if they’ve become pot-bound. If your seedling has been growing in a peat pot, peel away as much of the pot as possible without disturbing the root ball. It’s especially important to remove the top of the peat pot to prevent it from wicking moisture away from the plant’s roots once it’s in the ground.
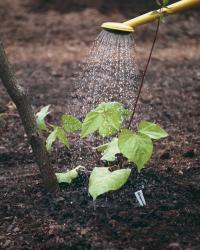
Give seedlings some protection from sun and wind for a few days after they’ve been transplanted. Overturned pots or baskets, row covers, or shade cloth will shelter them temporarily while roots settle in. Water the seedlings every third day, or more often if it’s unusually hot, until they become established.
Provide additional protection from insect predators, depending on the plant. Cutworm collars are advisable for most seedlings. Cole crops are vulnerable to the larvae of cabbage butterflies and other moths, so many gardeners cover them with floating row covers to prevent the moths from laying eggs.
Be on the lookout for slugs and remove debris that gives them a place to hide. If you suspect slug damage, check the beds at night with a flashlight and hand pick the culprits.
It won’t be long until seedlings grow into big, robust plants. But in the meantime, a watchful eye and some doting care will help seedlings adjust to the wild world of the garden.
Learn more…
For links to articles, blog posts, and videos on starting vegetable and flower seeds, see All About Starting Seeds .







Comments
Log in or create an account to post a comment.
Sign up Log in