
Everything I’ve learned about dry-shade gardening has been from experimentation.
When my husband and I bought our home in Fairview, Tennessee, 20 years ago, I had never gardened before. Our acre was surrounded by mature hickory and oak trees, otherwise known as “water suckers.” But I love my trees, so it never crossed my mind to get rid of them to make it easier to have a garden. Adding to my dry-shade condition was my chert soil. For those unfamiliar with chert, just imagine using a pickax to dig your holes (really, I’m serious). There is no humus and it’s a little like concrete, so “dry” might not be a strong enough word to describe it.
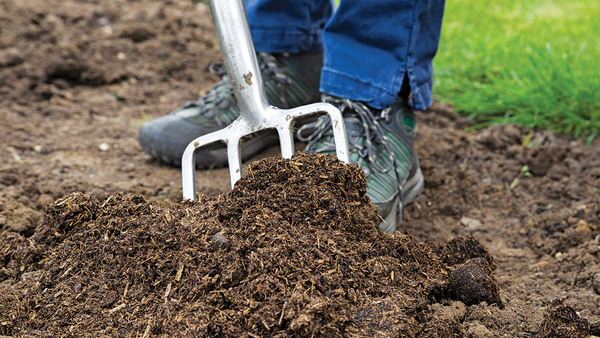
I quickly began to understand why people say that “dry” and “shade”—when used in tandem—are two of the dirtiest words in gardening. There is, arguably, nothing worse to deal with if you’re interested in creating a beautiful landscape. Through the years, however, I’ve developed some tricks to make my garden look just as good as any full-sun, moist bed. And, no, my garden’s transformation didn’t involve the installation of an expensive irrigation system. With some soil amendment, a little bit of hardscaping, and special attention to plant placement, my garden began looking more like the ones I drooled over in magazines.
Use hardscaping to slow down runoff and create seep-down pockets
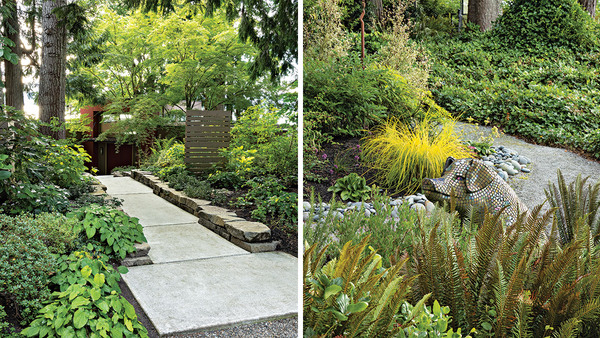
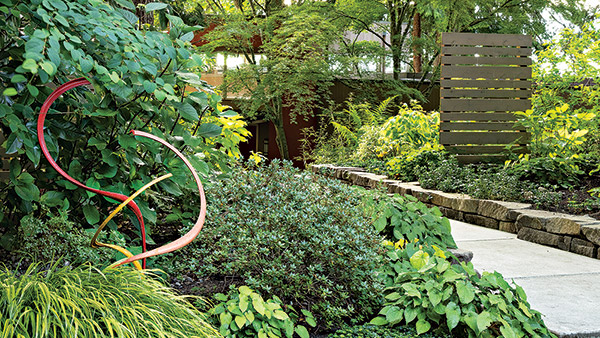
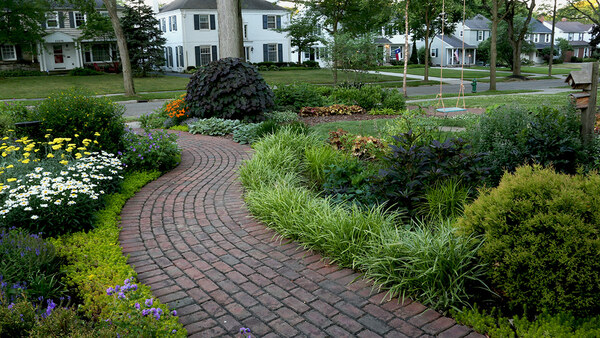
At first, I wanted to use stonework throughout the garden purely for the beauty of it. I started to notice, however, that wherever I added hardscaping, the plants in that area seemed happier. I quickly realized that the various stone walls and pathways created pockets where water would pool and then seep down slowly into the dry soil. That realization led me to do some terracing throughout the garden. The property was slightly sloped, so the small walls helped stop the water from running off. As a bonus, the terracing was pretty and it helped create microclimates, which expanded my plant choices.
Finding a way to slow runoff is essential in any dry-shade garden so that precious rainfall has time to soak into the ground instead of flowing into the street or a neighbor’s yard. You might be thinking that all of that stone must have cost a fortune. I initially had the same fear, but I installed the hardscaping one piece at a time over the course of 20 years. I first concentrated on the driest areas of the garden or where runoff was the biggest problem. To alleviate costs further, I utilized native stone, which was less expensive.
Plant placement or nonplacement is essential for success
There are some rules I live by with my plant selection. First, the plants need to be somewhat drought tolerant. I manage a garden center, where I drag a hose for a living, so the last thing I want to do when I get home is more of the same. Still, in July and August, my garden can look less than stellar. I use this time to do my garden editing. If a plant needs too much water, staking, or maintenance at this time of year, I edit it out. Also, plants with bright foliage stand out more in shade, and tall shrubs are must-have items for bridging the gap between the surrounding trees and the 2- to 3-foot-tall perennials.
My next rule is an age-old adage: right plant, right place. I divide my garden into zones. In areas that might get a bit more sun or stay a little more protected from drying winds, I can get away with planting something a bit more finicky, like ‘Annabelle’ smooth hydrangea (Hydrangea arborescens ‘Annabelle’, USDA Hardiness Zones 4–9). The areas that hold more moisture near the hardscaping are planted with plants that prefer a regular drink, like heuchera (Heuchera spp. and cvs., Zones 3–8). I pack a lot of plants into those small areas because it’s as close to an ideal spot as I get in my garden. After 10 years or so, I finally started paying attention to what plants really wanted and not what I hoped they would like. I don’t care how cool a plant is—if it’s struggling, it’s always going to look pitiful.
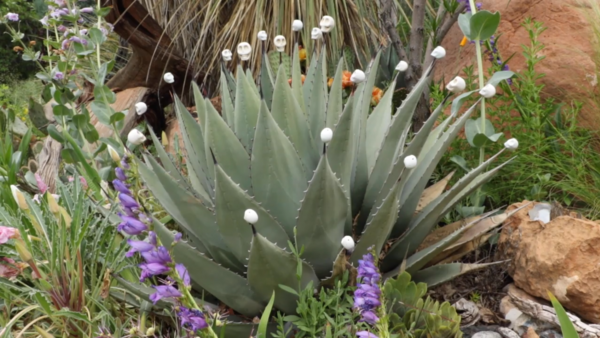
Inevitably, though, there are always those spots that are truly hellish. For those less-than-hospitable areas (like directly at the base of a hickory tree), I like to plant something that might not be stylish or exciting but will withstand the worst conditions imaginable, such as ‘Nana’ juniper (Juniperus procumbens ‘Nana’, Zones 3–9). These indestructible plants help fill in obvious gaps, making the landscape look lush and full. Finally, I’ll put some plants in pots and nestle them into the garden. This ensures that certain plants will stick around and look good, despite the soil conditions. A great example is hosta (Hosta spp. and cvs., Zones 3–9), which will grow in my garden but will be three times larger in a container. Potted plants fill in bare spots in my most problematic areas, too.
By following my self-imposed rules for dry shade, I can now say that I have a beautiful, low-maintenance garden—one I never dreamed was possible.
Robyn Brown is the manager of Moore & Moore Garden Center and, in her spare time, plants obsessively in Fairview, Tennessee.






Comments
I still did not get any information out of this article about soil amendment.
So, can you be more specific about the hardscaping? I didn't quite see what you meant in the photos.
I know this is an old post but still felt inspired to respond. I got such valuable information as my garden is in a similar spot; dry dappled shade. I will begin to develop some hardscaping, adding the many stones I dig up to securing spaces that can retain soil and moisture a bit more. I edge up on the woods and this year have gone from seeing deer once in a while to wow this garden is delicious! So am trying to deal with the as well. I love seeing the deer and will just deal with the loss of some things. Thanks for the ideas! Feels like spring even though it is January...
You can add many stones vidmate
I dig up to securing spaces that can retain soil and moisture a bit more.
So, can you be more specific about the hardscaping? I didn't quite see what you meant in the photos. IPL 2023 Live Streaming in France
Log in or create an account to post a comment.
Sign up Log in